Unlock Juicy Burgers: Your Ultimate Guide to Grilling Perfection
There are few culinary delights as universally beloved as a perfectly grilled burger. The aroma of sizzling beef, the char from the flames, and the promise of a juicy, flavorful bite—it's an experience that transcends seasons and occasions. Yet, for something so seemingly simple, achieving that ideal, restaurant-quality burger at home can feel like a quest. Have you ever bitten into a dry, flavorless patty and felt that pang of disappointment? We've all been there.
But fear not, aspiring grill masters! Crafting a truly sensational burger on your own grill is entirely within reach. It's a combination of starting with the right ingredients, mastering crucial patty preparation techniques, and employing smart grilling methods. Forget those overcooked, pressed-down pucks of meat. In this comprehensive guide, we'll walk you through the precise steps on how to grill burgers that are consistently juicy, tender, and bursting with flavor. Get ready to elevate your backyard barbecues and impress every guest!
The Foundation of Flavor: Choosing the Right Beef and Essential Tools
Decoding the Beef: Why Fat Matters
The journey to an extraordinary burger begins with the meat itself. While many might instinctively reach for the leanest option, when it comes to burgers, fat is your friend. We strongly recommend using 80/20 ground chuck. This means 80% lean meat and 20% fat. Why this specific ratio?
- Juiciness: The fat renders down during cooking, basting the meat from within, which is the secret to a succulent, moist burger. Leaner meats (like 90/10 or 93/7) simply don't have enough fat to achieve this level of juiciness, often resulting in a dry, crumbly texture.
- Flavor: Fat carries flavor. The rich, beefy taste you crave in a burger is significantly enhanced by the marbling present in 80/20 ground chuck.
Save your leaner ground beef for dishes where the fat can be drained off, like chili or tacos. For a burger that truly sings, embrace the fat!
Your Essential Grilling Arsenal
Before you even think about lighting coals, ensure your grilling station is properly equipped. Having the right tools makes all the difference in achieving perfect results and grilling safely:
- Digital Meat Thermometer: This is arguably the most critical tool for burger success. Guessing doneness leads to dry, overcooked burgers or, worse, undercooked and unsafe ones. A reliable digital thermometer ensures your patties reach a safe internal temperature of 160°F while retaining maximum juiciness.
- Long-Handled Metal Spatula: A sturdy, long-handled spatula is essential for flipping and maneuvering your burgers. Avoid flimsy plastic tools that might break or melt.
- Charcoal Briquets: If you're going for that classic smoky flavor, quality charcoal briquets are a must. They provide consistent heat, especially when setting up a two-zone fire.
- Chimney Starter: While not strictly essential, a chimney starter is a game-changer for lighting charcoal quickly and evenly without lighter fluid, which can impart an off-flavor to your food.
- Heavy-Duty Grill Brush: A clean grill grate prevents sticking and helps create those beautiful sear marks. Always brush your grate thoroughly before and after grilling.
Crafting the Perfect Patty: Secrets to Juiciness and Shape
Gentle Hands, Superior Taste
One of the most common mistakes people make when preparing burger patties is overworking the meat. Excessive handling compacts the ground beef, breaking down the proteins and resulting in a tough, dense burger. The goal is to be as gentle as possible:
- Minimal Handling: Place your ground beef in a large bowl and season simply with salt and freshly ground black pepper. Avoid adding too many binders or ingredients that can mask the beef's natural flavor. Use your hands to very lightly form the seasoned meat into loose balls, roughly 6 ounces each (about the size of a baseball).
- Seasoning Strategy: Some chefs prefer to season just before grilling to avoid drawing moisture out of the meat too early. Experiment to find your preference, but a liberal application of salt and pepper on both sides is key for flavor.
The Indentation Trick and Patty Dimensions
Have you ever grilled a beautiful, flat patty only to have it puff up into a domed, football-like shape? The secret to preventing this lies in a simple technique:
- The Thumbprint Indentation: Once you've gently flattened your 6-ounce meat balls into patties, make a slight indentation or "thumbprint" in the center of each one. This creates a small divot that counteracts the natural tendency of the meat to contract and bulge upwards during cooking, ensuring your burgers remain flat and cook evenly.
- Size and Thickness: Aim for patties that are about ¾-inch thick and slightly wider than your burger buns. Beef shrinks as it cooks, so starting a little wider ensures a good bun-to-burger ratio.
- Refrigeration: Once formed, refrigerate your patties for at least 15-30 minutes. This helps them hold their shape better on the grill and prevents them from falling apart.
Debunking Myths: The Ice Cube in the Burger?
You may have heard of the "ice cube in the burger" trick, intended to add moisture. While the intention is good, this technique is generally unnecessary and can even be detrimental. The ice will melt, creating steam and potentially watering down the beefy flavor. If you've chosen 80/20 ground chuck and follow our gentle handling and proper grilling tips, your burgers will be juicy without needing this particular gimmick.
Mastering the Flame: Setting Up Your Grill for Success
The Two-Zone Charcoal Method Explained
For truly outstanding grilled burgers, especially on a charcoal grill, mastering the two-zone fire is paramount. This method allows for both intense searing and gentle, even cooking:
- Light Your Coals: Start by pouring your charcoal briquets into a chimney starter and lighting them. Wait until they are fully lit and covered in a gray ash (typically 15-20 minutes).
- Arrange for Two Zones: Once the coals are ready, carefully pour them onto one side of your grill's bottom grate. This creates a "direct heat" zone. The other side of the grill, with no coals underneath, becomes your "indirect heat" zone.
- Preheat the Grate: Place your top grill grate back on and close the lid. Allow the grill to preheat to a medium-high heat, around 400°F. You can gauge this by holding your hand about 5 inches above the grate; you should only be able to hold it there for 4-5 seconds. For a deeper dive into charcoal grilling techniques to prevent dry burgers, explore Master Charcoal Grilling: Avoid Dry Burgers with These Techniques.
This setup is crucial: you'll sear the burgers over direct heat for that beautiful crust and then move them to indirect heat to finish cooking without burning.
Preheating and Cleanliness
Before any food touches the grill, ensure your grates are clean and hot. A hot, clean grate prevents sticking and helps create an even sear. Use your grill brush to scrape off any residue from previous cooks.
The Grill Choreography: Searing, Flipping, and Doneness
Searing for that Perfect Crust
With your grill ready, it's time to bring on the burgers! Remove your chilled patties from the refrigerator and place them directly over the hot coals (the direct heat zone).
- Initial Sear: Sear the first side for 4 to 5 minutes. This intense heat will create a beautiful, brown, and crispy crust, locking in those precious juices and developing rich flavor.
- Resist the Urge to Move: Don't try to move the burgers too soon. They will naturally release from the grate when a good sear has formed.
- Handle Flare-Ups: Flare-ups are a natural part of grilling burgers due to the fat rendering. Don't panic! Simply use your spatula to move the affected burger to the indirect heat zone for a few seconds until the flames subside, then return it to the direct heat if needed.
The Single Flip Rule
This is a golden rule for juicy burgers:
- Flip Once, and Only Once: You'll know it's time to flip when you see liquid pooling on the uncooked surface of the burger. Using your long-handled metal spatula, gently flip each burger over.
- Absolutely No Pressing! This cannot be emphasized enough. Do NOT press down on the burgers with your spatula! This common mistake squeezes out all the flavorful juices, leaving you with a dry, sad patty. Let the grill do its work.
- Sear the Second Side: Continue searing the second side over direct heat for another 3-4 minutes to develop a similar crust.
Finishing Strong: Indirect Heat and Temperature Control
After both sides are seared, move the burgers to the indirect heat zone. This allows them to cook through evenly without burning the exterior.
- Cover and Cook: Close the grill lid. This helps to circulate heat, ensuring the burgers cook uniformly.
- Monitor with a Thermometer: This is where your digital meat thermometer becomes your best friend. Insert the probe horizontally into the side of the burger, ensuring it reaches the center without piercing through to the other side. Continue cooking over indirect heat until the internal temperature reaches 160°F for a safe, medium-well burger.
- Different Doneness Levels: While 160°F is generally recommended for ground beef safety, if you prefer a rarer burger, understand the risks involved. For expert tips on achieving juicy burgers every time, including various doneness levels, check out Grill Perfect Juicy Burgers Every Time: Expert Tips for Success.
The Grand Finale: Toppings and Enjoyment
Once your burgers hit their target temperature, they're ready! Unlike larger cuts of meat, burgers don't typically need to rest, as their smaller size means they won't lose significant juices. If you're adding cheese, place slices on top of the burgers during the last minute or two of cooking (preferably over indirect heat with the lid closed) to allow it to melt perfectly.
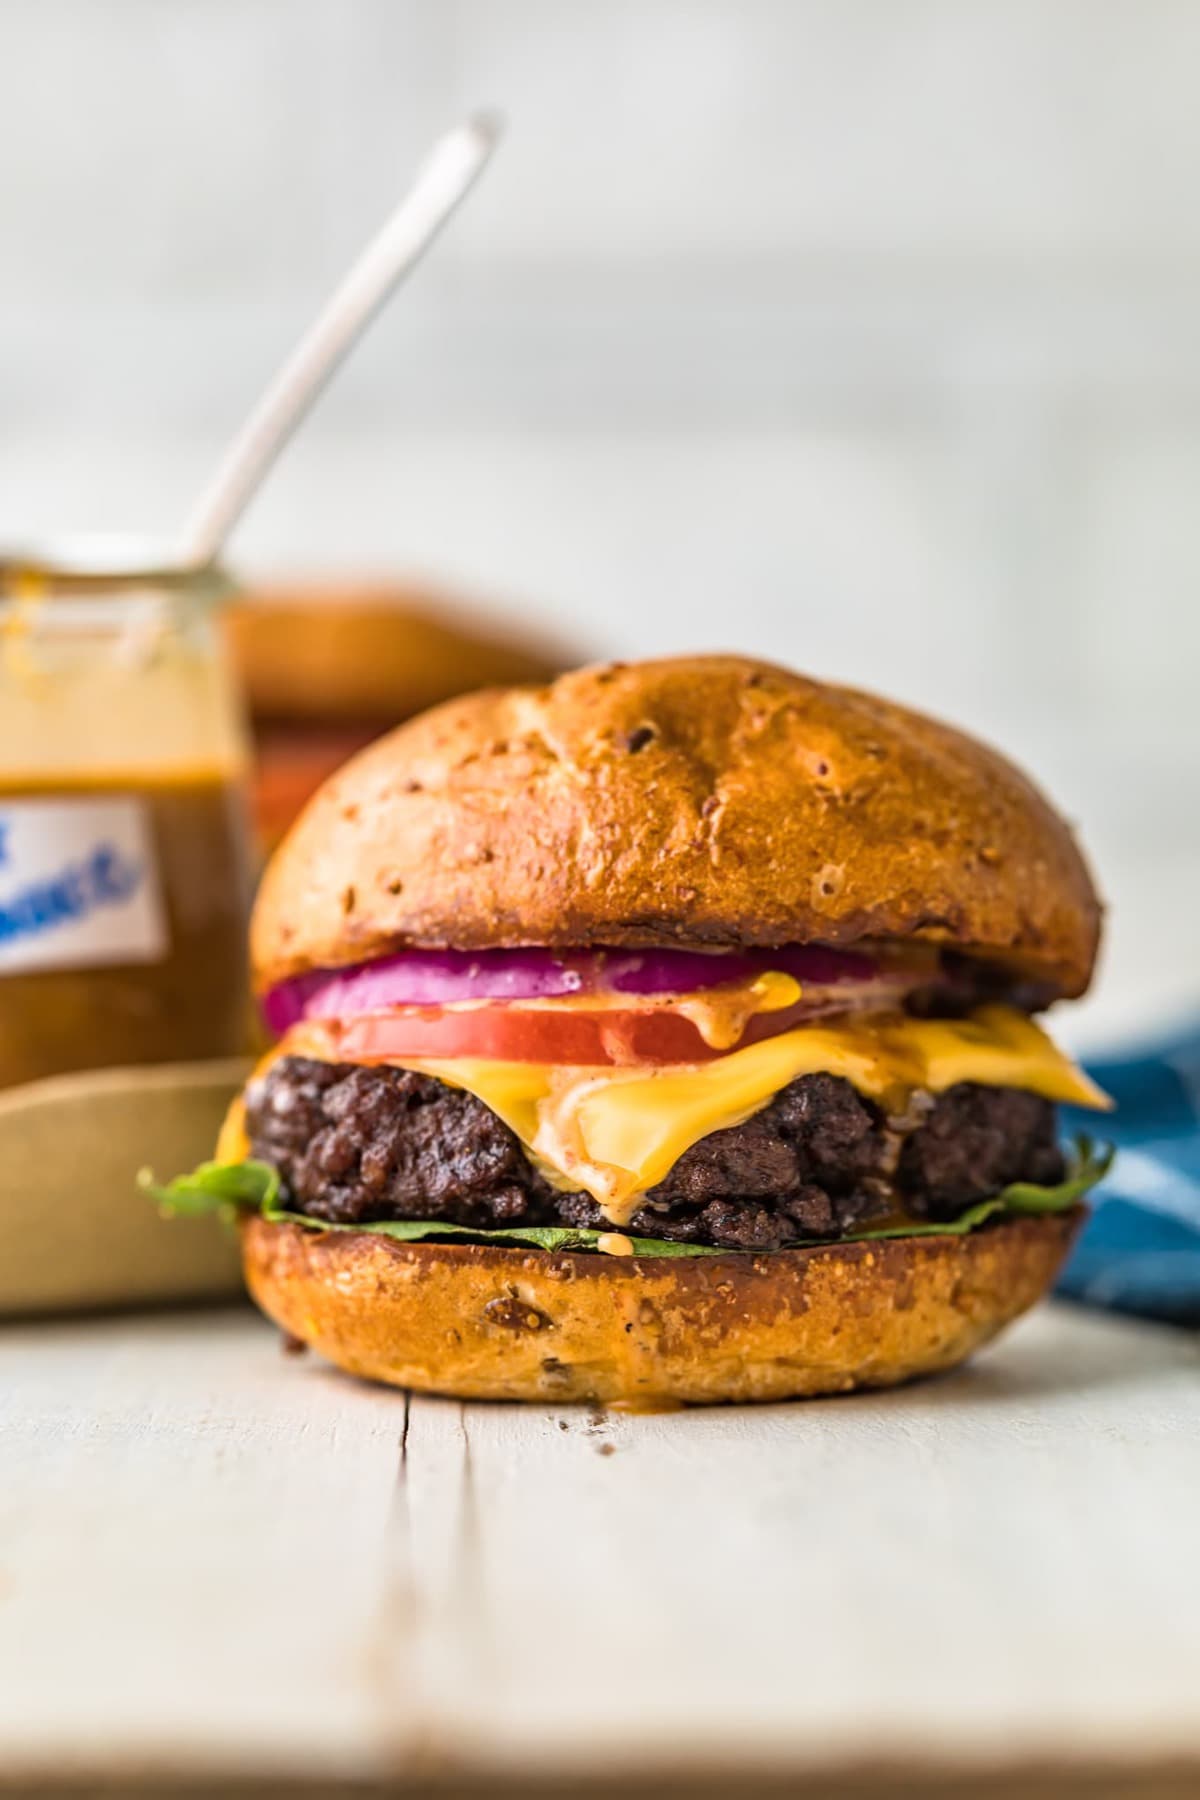
Toast your buns lightly on the grill for added texture and to prevent them from getting soggy. Then, assemble your masterpiece with your favorite toppings—crisp lettuce, ripe tomatoes, red onion, pickles, and a generous dollop of your preferred sauce. Enjoy the fruits of your labor!
Conclusion
Grilling the perfect, juicy burger is an art, but it's an art that is easily mastered with the right knowledge and techniques. From selecting the ideal 80/20 ground chuck and gently forming your patties with that crucial indentation, to mastering the two-zone charcoal method and adhering to the single-flip rule, every step contributes to the ultimate outcome. Remember your digital meat thermometer for safe, precise cooking, and never, ever press down on your patties! By following these expert tips on how to grill burgers, you're not just cooking a meal; you're crafting an unforgettable culinary experience that will keep friends and family coming back for more.
